Saturday, November 3, 2012

December Daily Book and Foundation Pages

I finally found a book to house my December Daily. I found an 8x8 chipboard album that was perfect. The album is actually more like 10x8 but that size is actually perfect for what I need. I can't use page protectors which makes me uneasy but I'm sure no one except me will look at it anyway. LOL

The album came with a naked chipboard cover and a green fabric spine. I covered the naked chipboard with Santa paper. I folded the excess over the edge of the page and secured with washi tape. I was afraid if the edges were left raw that it would make the paper easier to tear.


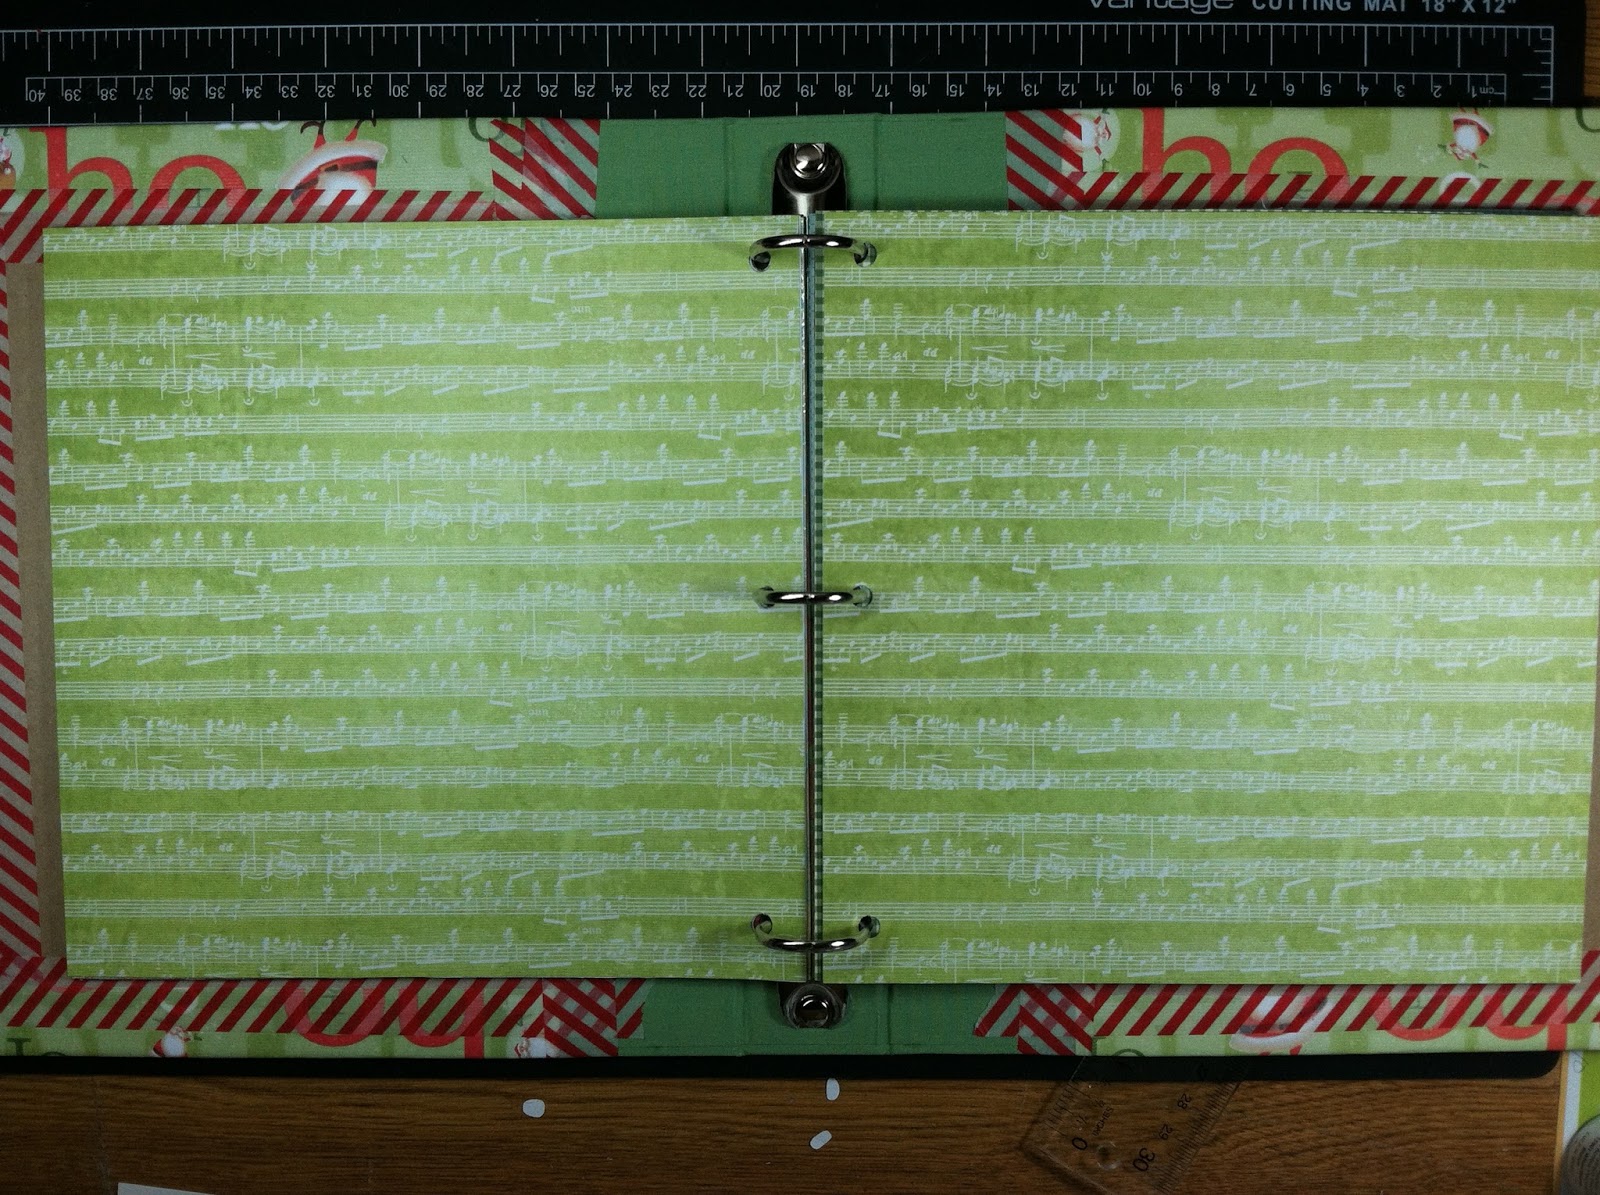
This album also didn't come with pages so I took the foundation pages and taped them together. It makes the pages sturdier although I may add eyelets at a later time to reinforce the holes.

Here are the rest of the foundation pages. Some of the pictures are upside down and others are sideways but you get the point. I can't for the life of me figure out how they keep getting turned around.

As of now I am starting my December Daily on Thanksgiving and ending on Christmas. However, I am off the last 10 days of December so if I have time and things to add I will finish out the month of December. I'll just be happy if I start and actually finish the darn thing. A few days will be easy since I have 2 birthdays and a few other events that I know for sure will happen.


Now I need to get my numbers together and cut photo mats, etc.

30 days of thankful: day 3

Today I'm thankful that transformers come with a double-sided sheet of instructions. For some reason mom always has to transform them back between robot/car.

How sad is it that I can switch them in less time than dad? :)

Friday, November 2, 2012

30 days of thankful: day 2

Day 2:

Today I'm thankful for the health of me and my family. My son is almost never sick. He's had 1 ear infection and 1 bout with bronchitis and that's it. Sure, there are colds and minor sickness that is typical of little kids but otherwise he's healthy as a horse.

I'm thankful my husband doesn't have to deal with kidney stones much anymore. He's a bear to be around when he's passing stones, not that I blame him.

I'm thankful my mom is healthy. It's been almost 6 years since she was diagnosed with the big C. She had a horrible time with chemo and was very ill. Then a respiratory infection almost killed her. In the meantime they found more cancer in a different area and treated that one too. Now she's healthy and making new lifestyle choices and I'm very proud of her.

I'm thankful my step-dad is also making new lifestyle choices. I want him and my mom to be around for a long time to see my son grow.

I'm thankful for my health as well. I will always be on the lookout with suspicious spots on my skin but that will be something I will always have to be on the lookout for. Otherwise I'm just dandy! Well, not right now. I've been fighting some sort of cold bug.

Thursday, November 1, 2012

30 days of thankful: day 1

I'm going to jump on the bandwagon for this one.

Let me start by saying I wasn't feeling very thankful for anything today. I didn't feel good at all. Yucky cold, no voice, and achy bones. I just wanted to go home and curl up in bed. To make matters worse I had to run errands over lunch.

I stopped at the gas station and kept hearing a voice talking. There was a little old lady at the pump across from me and she couldn't get her gas cap off. She was trying to push the handicap button to get someone inside to help but they never responded. I went over and took her gas cap off.

Long story short...I'm thankful that I was there to help her today. I would like to think if that was my grandma someone would help her out. At the very least I got some good karma. That's never a bad thing :)

Monday, October 29, 2012

Weekend crafting

I made my annual trek to St. Louis this weekend to see my BFF for her birthday. It ends up being 2 days of crafty fun. I made 36 bat treat boxes for daycare/preschool parties, an advent calendar, and a book for my December Daily.

I only have a pic of the bat and a sneak peek of the calendar. Why? I got home late Saturday and yesterday was spent making pies, carving pumpkins, and other Halloween preparations. Plus it took me 3 hours to unload my scrap crap.

I will take pictures of the other stuff later this week.

Oh, and the bat boxes? HUGE hit with my little guy. He was flying them around the house.

Thursday, October 25, 2012

While I'm away

I've been trying to pack up for my annual birthday trip to STL. Trying being the key word.

It will be 2 crafty filled days and a trip to Archivers to boot.

Keep your eyes peeled for pictures :)

Sunday, October 14, 2012

New cards in the shop

I finally got around to making new cards this weekend. This may be it until the holiday crunch is over.

Where can you get these beauties? You can either visit my etsy store or go to the cards page tab at the top of the blog.


As of now I'm still debating whether or not to sell cards on etsy anymore. There are a number of reasons but the biggest is the fees I pay to paypal and etsy. The fees aren't bad for bigger ticket items but for small items it is pretty high. Regardless of what I do I will always sell on my blog. And here's a hint...my cards are usually cheaper on the blog. Ssshhhh....

Friday, October 12, 2012

Say it isn't so

I did it. I used up an entire paper pack. I guess I should clarify. About a year ago I bough a few paper collections from Close To My Heart. Each pack came with 6 sheets of solid cardstock and 6 pages of double-sided patterned paper. 12 pages total per pack.

I finally pulled one out for some layouts last weekend. 3 double layouts and 3 cards later and this is all I have left.

So. Excited.

I'll post pics of the layouts this weekend. For the meantime you can see the cards.

And even more shocking is that I'm throwing the scraps away. I never throw scraps away. I must be realistic and I know I most likely won't use the few slivers I have left.

Friday, October 5, 2012

Apple Goodness

I have a love/hate relationship with our apple tree. Last year we had NO apples. This year we had tons of huge red/green apples. I love the fresh fruit we have from the trees. I hate what I have to do to the apples to "put them up". But the end result is SOOOOO good.

Last Sunday I made apple butter. Apple butter is not butter. It's more of a delicious spread similar to jam. Awesome on pancackes and toast.


I washed and cored about 30ish apples. Leave the skins on. It has something to do with the pectin. Add about 4 cups of apple juice. I ended up with about 6 quarts of apples. Cook on low for 10-18 hours. Mine were in for about 15 hours. Warning: they will start to look all brown and gross. This is OK!

Remove the apples and put them through a food mill to remove the skins. I don't have a food mill (and I curse that fact every time I make apple butter) so I put them through a fine sieve. The goal is to push all of the apple mush through leaving the skins behind. Throw the skins away or compost them.

Measure the remainder of the "sauce". For every 2 cups add 1 cup sugar, 1 teaspoon cinnamon, 1 teaspoon nutmeg, 1/2 teaspoon ground allspice, 1/2 teaspoon ground cloves. I had 14 cups of sauce so I added 7 cups of sugar. That equals almost an entire 4 lb. bag. Stir well. Cook on high for 6-7 hours stirring every 2 hours. After 3 hours remove the lid in order to let some of the excess liquid to evaporate.

I wish blogger had smell-o-vision. I can't begin to describe how good my house smelled.

Once it was finished I put the butter in sterilized mason jars. Process in a canner for 15 minutes and there you go! Fresh apple butter for at least a year! Mine yielded 3 pints and 9 half-pints.

Thursday, October 4, 2012

How to make faux metal embellishments

Yesterday's post showed custom embellishments I made for my 2012 December Daily cover.

The process is really easy and took almost no time at all to do.

First, coat your chipboard in versamark ink. Versamark is a sticky clear ink that leaves a watermark on regular pages and allows embossing powder to stick to the item before embossing.


Yeah, yeah. I know my ink pad is super dirty. I have a clean one I use for clear embossing or to use as a watermark ink. This one is for the "dirty jobs".

Instead of pouring the embossing powder over my letter I just poured a little powder in the lid and dipped my number in it.


At this point I was worried since the powder didn't have very good coverage. The powder melted beautifully over the number once I hit it with the heat gun.


I decided to do the same to my brads. Bad picture, bad lighting. Sorry.


So, there you have it. Custom embellishments!

Wednesday, October 3, 2012

December Daily Cover

I was ambitious this weekend and pre-cut all of my base papers for the December Daily, or Big D, as I'm beginning to call it. I'm sure I'll change my mind once I have actual pictures to put in it, but whatever. I'm proud to say I "shopped my stash". The papers used were from 2 paper packs from The Paper Studio. The other papers are from an old (maybe 2010) My Minds Eye Christmas paper pack.


I pulled some really old ledger chipboard letters from Heidi Swapp. I inked them up with Festive Berries Distress Ink. It seems like the letters resisted the ink a little so I swiped them about 4 times. I had to put down a strip of temporary adhesive and stick the letters to it. Made inking SO much easier!


I also inked up a bookplate with Festive Berries. I wanted metallic numbers for the year 2012 so I embossed the letters with pewter embossing powder. I had brads that matched the green in my paper but thought that might look odd with the metallic letters so I embossed them as well. Tutorial on that to come later this week.


Here is the completed cover page. I added close-ups to the letters. I was going to put clear crackle on them but thought the distressed look with the ledger underneath was a cool look. I went ahead and inked the edges of the paper with Festive Berries as well.