Showing posts with label other stuff I made. Show all posts

Thursday, December 29, 2011

The calendar, so far

January and December aren't finished yet. I made a last minute decision to change the pictures I was going to use and since any store with a photo printer is at least 25 minutes away I decided to just wait until I go into town again to get them printed.

I am proud to say that I used up a lot of old stuff that I had lying around. One of my new year's resolutions is to use up some of the stuff I felt I just had to have and then never used. I'm not happy with the quality of some of the pictures but I didn't have time to order them like I normally do. It was lack of planning on my part.


Tuesday, December 27, 2011

The zombie apocalypse is coming!

If you haven't heard already there will be a zombie apocalypse in the near future.

In celebration of that and the awesome show "The Walking Dead" I present to you....zombies


I learned that I have mad bloody intestine and blood spatter skillz. One side says "zombies" and the other side says "brains". I would have totally made a clay brain but I couldn't find any brain molds. The blocks also have dripping blood and bloody fingerprints. I tried to put teeth marks in the blocks to make it look like a zombie bit the wood. Well, let's just say that I didn't want to break my teeth. I took one for the team and tried biting it but the wood was just too hard. Maybe if I had used balsa wood it would have worked. That's just how dedicated I am.

These blocks are actually for a friend but I totally might make a set for myself :)

Christmas Projects Galore!!!

I hope everyone had a Merry Christmas. Our weekend was full of family and friends and lots of presents. My grandma had knee replacement surgery so we visited her at the rehab center since she couldn't be home with us.


Even kitty joined in on the Christmas fun. What cat can't resist a big wad of wrapping paper?


Here are a few projects I did over the past month. Ideas came from the various blogs I subscribe to and others came from pinterest. All were given as gifts.

First up...cinnamon candles for the daycare/preschool teachers


These candles were pretty simple. I had to cut the cinnamon sticks down to size, added a little dab of hot glue, and glued them to the candle. I cut a 1 inch strip of burlap and wrapped it around the sticks, tied together with jute and stuck in a sprig of winter berries.

My next project was these little magnets.


I cut 1 inch circles with my Martha Stewart circle cutter. BEWARE: I learned the hard way that the blades are SUPER sharp. But that's another story for another time....

I glued the circles into the bottle caps using Glossy Accents. Then I carefully poured Mod Podge Dimensional Magic on top of the paper. It looks all murky at first but eventually dries to a clear epoxy-like finish. Once they were dry I put little magnets on the back.

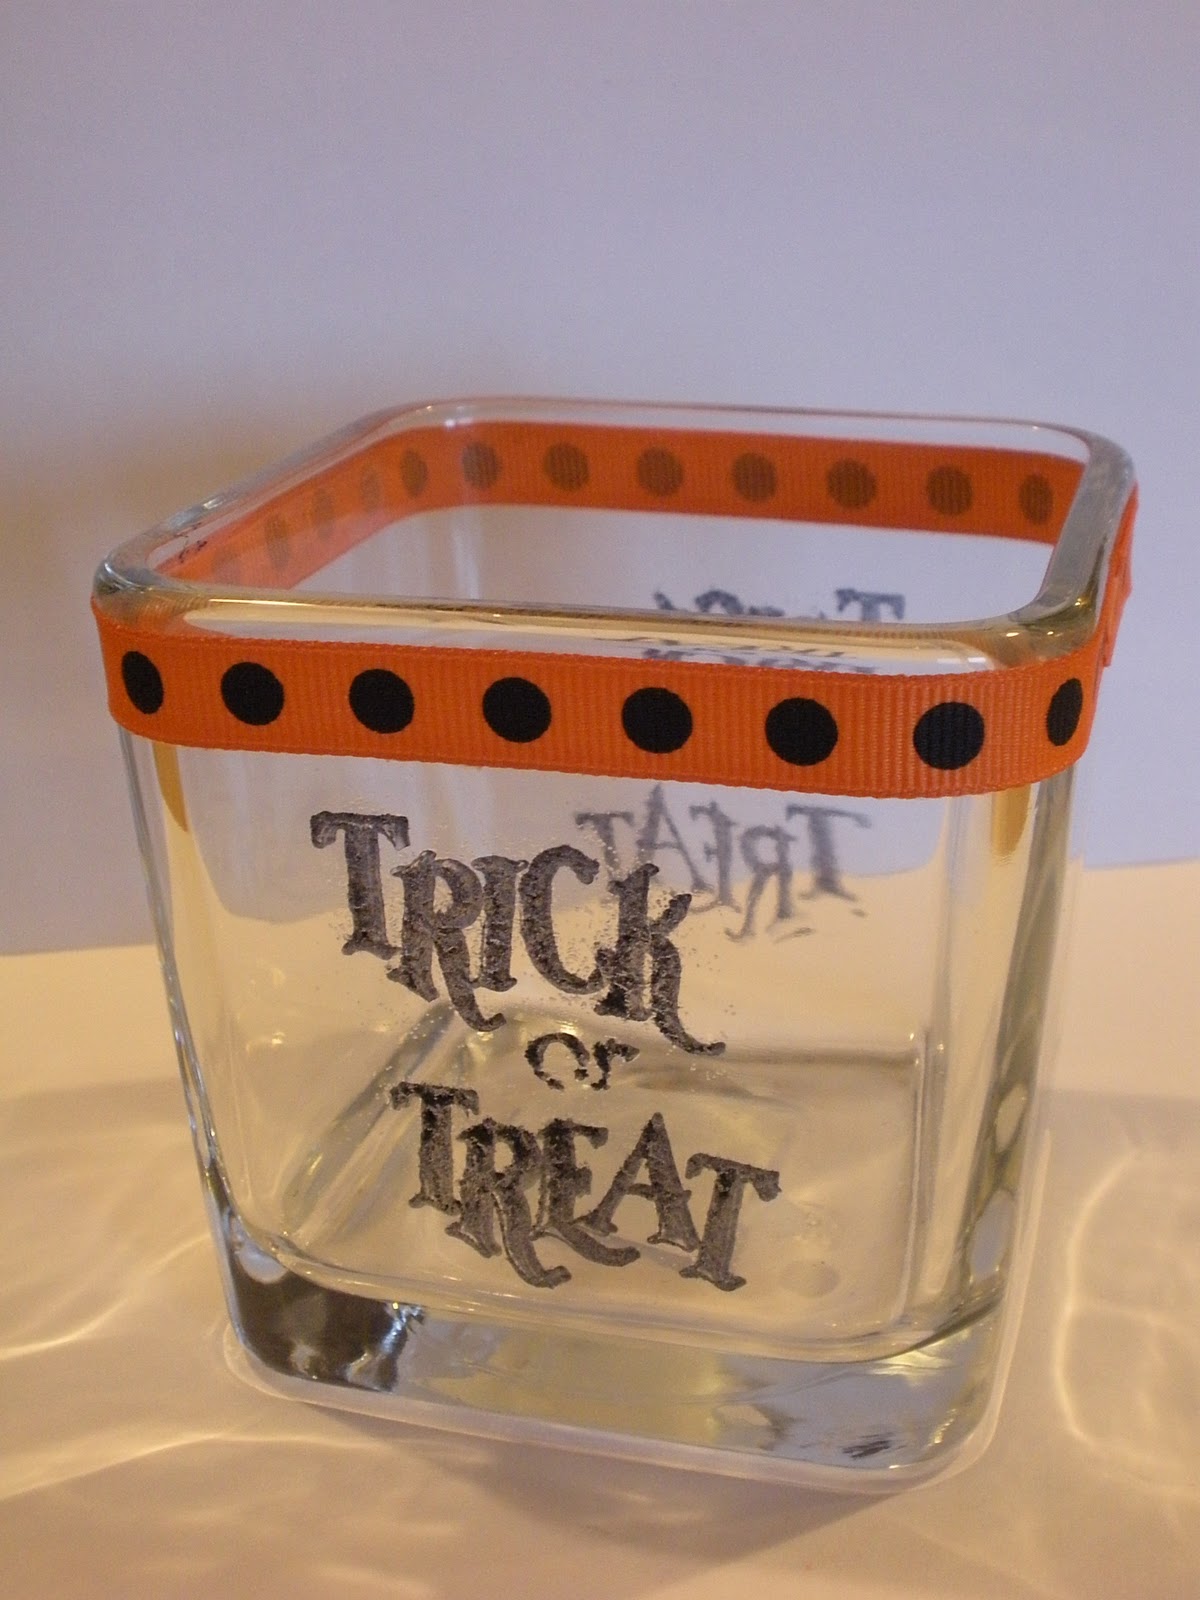
Next up...cute holiday votives


I started out with a snowflake stamp. I used Versamark ink and carefully stamped the images on the glass votive. I sprinkled clear embossing powder and hit it with the heat gun. When stamping/embossing on glass it is very important to clean the glass with alcohol and avoid touching the glass. The oils from your skin will leave marks on the glass and the embossing powder will stick. It's also important to remember that glass when heated is HOT.

After embossing I made a mixture of glitter and epsom salts and stuck a tea light in the bottom. Voila!

Up next...FAMILY blocks


These are my standard blocks covered with patterned paper. I painted grungeboard letters and glued them on. The silver background is from a flourish stamp inked with versamark ink and brushed over with Perfect Pearls Pewter powder. I like the subtle effect it gives the blocks.

Whew! Those were just a few of the many gifts I made this year.

Sunday, October 9, 2011

Sunday Funday

 My buddy was gone for most of the day today so I started working on some Christmas stuff for my etsy shop.

First up - I started working on these tags at the crop I went to last weekend.


I thought they'd make nice tags for table settings at Thanksgiving dinner or fall parties.

Next up...Christmas tags


I made this wood block thinking that I'd use buttons to spell "FALL" but that didn't work out as planned.


And finally...I'm working on some sort of Christmas house but I'm not quite sure what I'm doing yet.


Sunday, September 18, 2011

Halloween votives

This weekend has been rainy and cool. After I got home yesterday from my trip to visit my friend (see previous post) I came home and my little buddy was napping. I took the opportunity to try a new project since he NEVER naps for me :)

I'm sure I found the idea in one of my scrapbook magazines.


I bought the glass votive candle holders at the dollar store. I used StazOn ink to stamp trick-or-treat on  the glass. StazOn is the only ink that will stick on other surfaces such as glass and plastic.

Once I stamped the image I covered it with clear embossing powder and hit it with the heat gun to melt it.

Note: glass gets hot when it is heated up...and embossing powder is hard to melt on glass.

I stamped the image on 2 sides. I tried to stamp a spiderweb and spider on the other sides but I think it was just too much...and I didn't expect the ink to take so long to dry so I put a giant fingerprint in the middle of the spider. Luckily the ink wiped off which is weird because that stuff usually doesn't come off of anything, including clothes. Don't ask about the ink but let's just say a friend got it on her pants.

They still needed a little "something" so I put some ribbon through the xyron and stuck it on top.

Like what you see? I listed them in my etsy store here. I made 2 but if you'd like them with a different phrase just let me know. I take custom orders.

Project: Disney is finished!

I met up with my friend halfway between our houses yesterday to deliver her darling daughter's birthday blocks. We live in different states and the halfway point isn't too far for either of us. We had a wonderful lunch and spent a few hours just walking through the mall and visiting.

Here is a peek at the final product with a few "action" shots:

In my previous post I had put a base coat of white and pink on all of the blocks. The next step was to trace the letters on the blocks. I downloaded a Disney font and printed out the letters. In order to keep the spacing right I just cut the letters out of the paper and traced them on that way.

 Lots of cutting...
tracing and painting

I traced the letters and went over them with a paint pen. Then I filled in the spaces with acrylic paint and a brush. It would have been easier to just use the paint pen but the fumes were giving me a major headache.


The next step was to trace circles on the birthday block. I used the caps of both of my white and black paint pens. 


And...viola! I'm so happy my friend liked them :)

We also decided she can reuse the base blocks over and over and just repaint the top block every year. 

Despite a few "issues" I think they turned out really well.

Monday, September 12, 2011

Finally pictures!

Let's try this again...


These were super easy to make. The letters are plain paper mache letters I bought at HobLob. I just painted them. cut paper to size, and mod podged them on. Ink the edges and add a sealer coat of the podge and voila! The black and purple paper is core-dinations paper. I crumpled them up, smoothed them out and sanded the ridges and edges to make them look distressed.