
I used the pressed wood letters from Hobby Lobby, and wouldn't you know it, they had a coupon for 1/2 off! The letters are about 10 inches high and and the width varies depending on which letter but most are around 6-8 inches wide. That's why I couldn't fit all of them in the same pictures.
Tools used:
wood letters
paper
mod podge
petaloo flowers
buttons
jewels
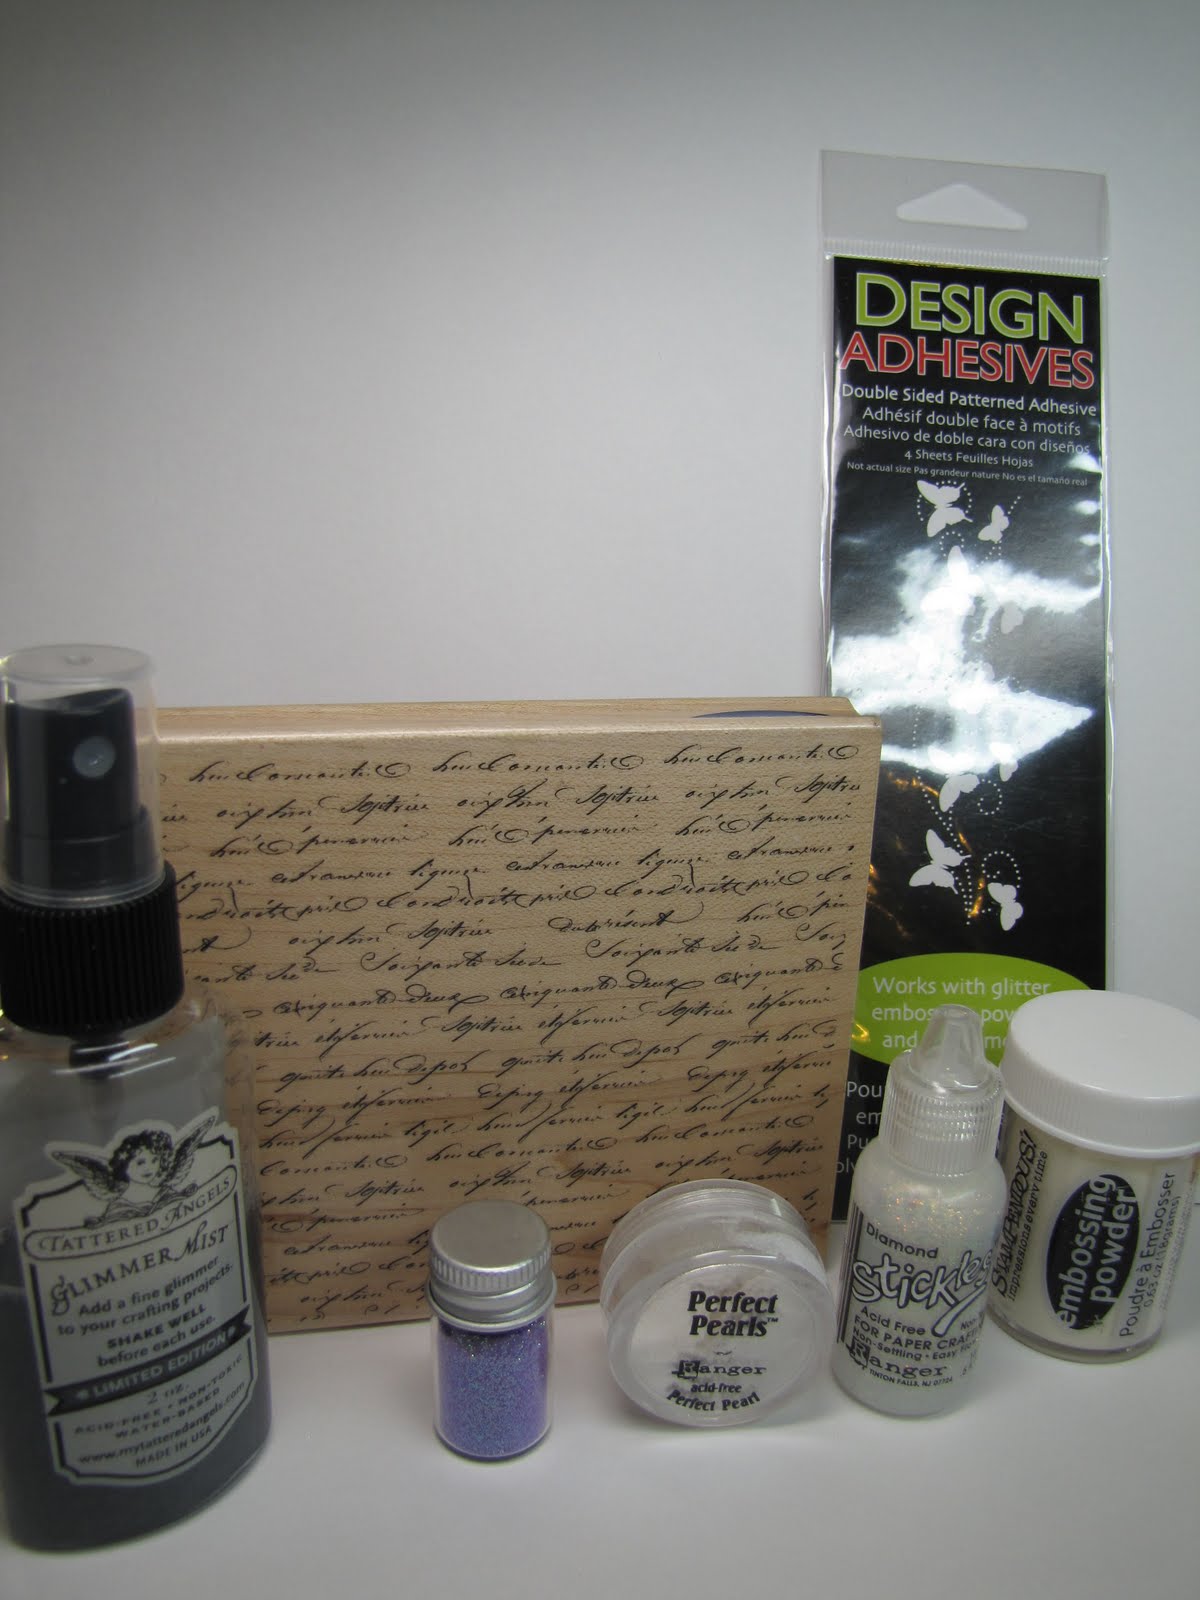
versamark embossing ink pad
clear embossing powder
purple chalk ink
handwriting background stamp
other clear acrylic stamps
purple glitter
ribbon
diamond stickles
perfect pearls
glimmer mist
I started by tracing the letters on paper then cutting the shapes out. I painted the letters with white and lilac acrylic paint and let dry. I coated each letter with a thin layer of mod podge and put the paper on top. It is important to keep smoothing out the paper or else you get air bubbles. I cut the excess paper around the edges with my exacto knife then sanded the edges smooth with my sanding block. Then it was time to start decorating.
First, the L...

I inked my handwritten background stamp with light purple chalk ink and inked the entire letter. I chalked a white flower with purple chalk and attached it with a purple buttong using glue dots. I ran a piece of purple ribbon through my xyron and attached at the bottom.


The letter E:
I used a different background stamp and inked with versamark embossing ink. Versamark is a clear ink and leaves a watermark effect (darkens the color of the paper). I covered with clear embossing powder, brushed off the excess, and hit it with the heat gun. It basically melts the embossing powder and leaves a glossy finish. I filled in spaces here and there with diamond stickles giving the whole thing a slightly glittery and shimmery look. I covered the butterflies with versamark and used perfect pearls to give them a pearlesent look. Add some jewels and that letter is done!


Letter X:
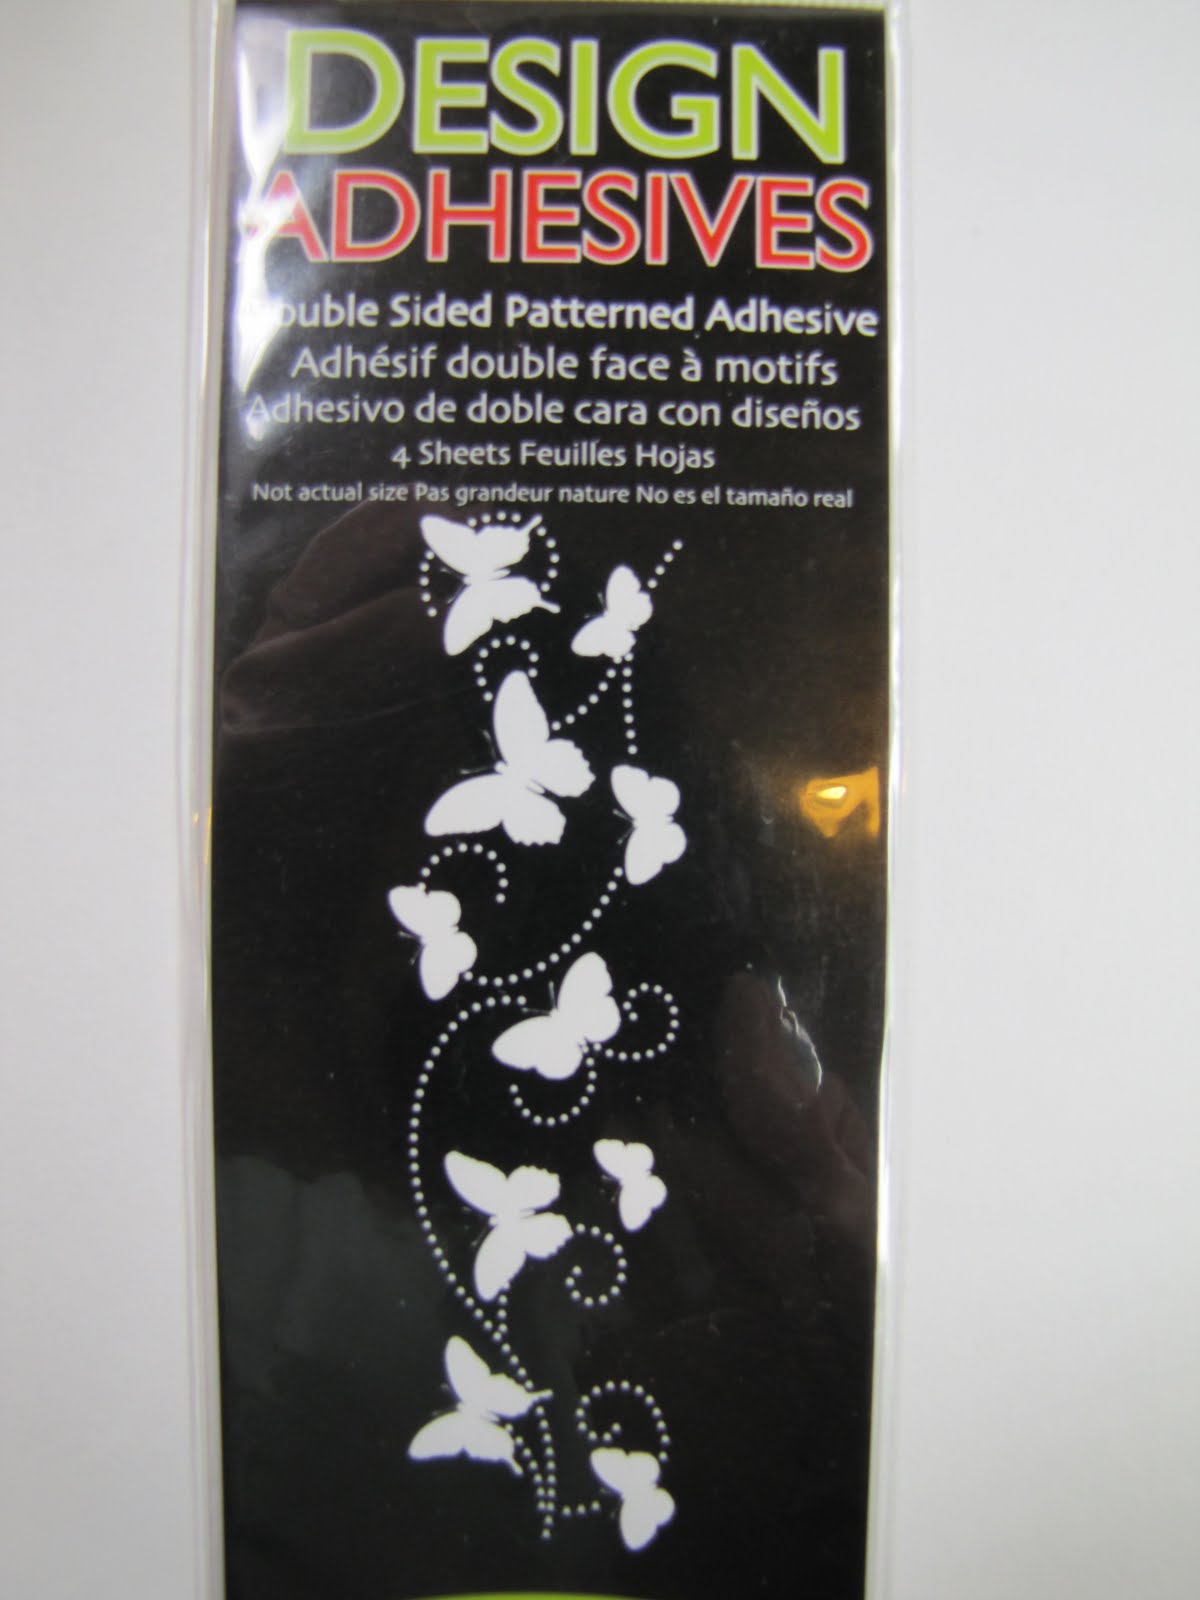
This letter has a simple design. I used the design adhesives for the butterfly design. These were pretty easy to use. The design is sandwiched between two pieces of waxy paper. You simply peel off one side (carefully) and stick to your paper. You peel off the top sheet and just pour glitter on it. Brush off the excess and that's it! You can also use chalk or flock. I just added a few ribbons and that was it for X.


Letter Y:
I used acrylic stamps and inked with versamark. I used perfect pearls and just brushed over the inked surface and brushed off the excess. Add a few jewels and some ribbon and that letter was done.


I sprayed each letter with acrylic sealant instead of mod podge. That stuff was nasty but left a nice matte finish without the brush stroke that mod podge leaves behind. I was a little leery of using podge on the glitter butterflies.
Anyway, if I wasn't in such a rush to get them done I would have taken more pictures of the "process" but I think the written explanation does the job too! Overall it was a very inexpensive project. I had all of the supplies except the letters and the acrylic paint. I thihk I maybe spent $6 or $7 total.
Color me impressed.
ReplyDelete