Sunday, September 25, 2011

Harvest Blocks Part 2

Ok, so the site is acting really weird and wouldn't let me type any text beneath the picture.

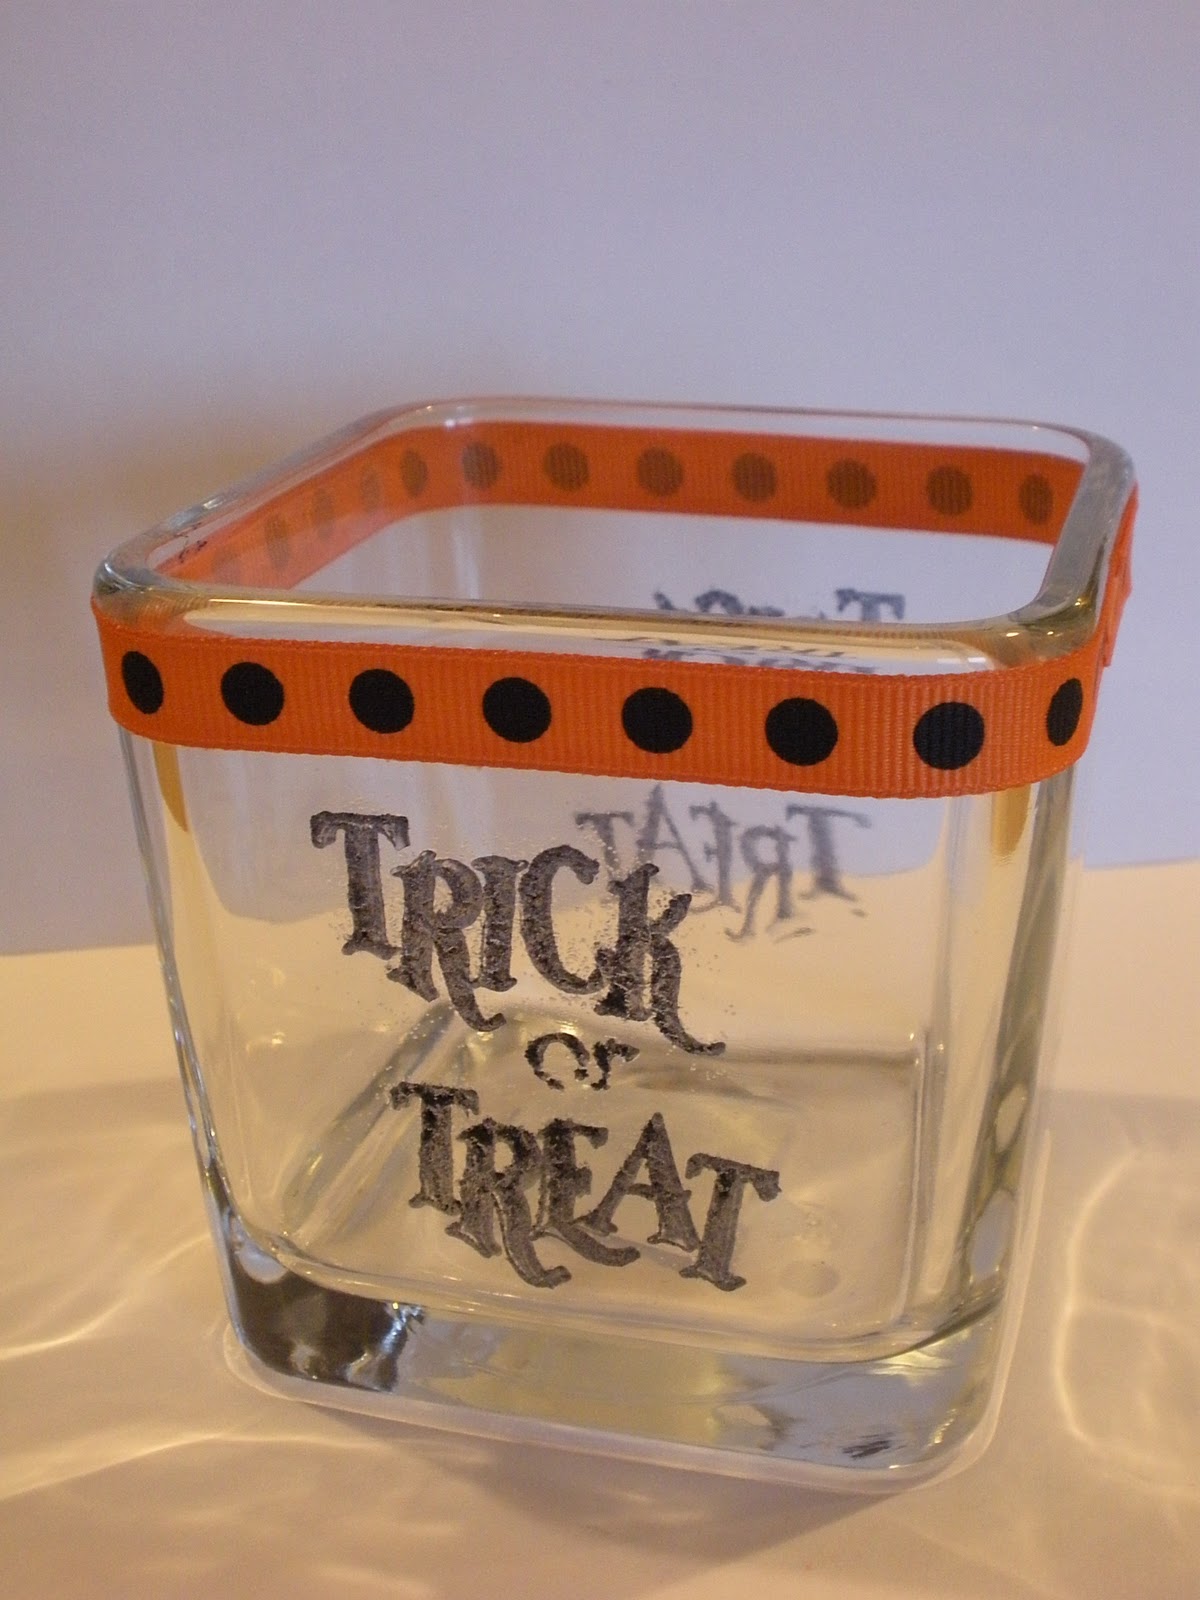
Next I painted a thin layer of paint on a rubber stamp and stamped the image on a square of paper.


I inked grunge letters with forest moss distress ink then covered with peeled paint distress stickles.


Then I put the whole shebang together. I cut the squares a smaller size so that you might see the distressed technique but I think I should have made them a little smaller. They aren't terrible by any means but they aren't my favorite set either.


Please ignore the dirty dishes in the background. It is Sunday and yesterday was house cleaning day. I would end up doing dishes twice a day if I let it bother me that much. :)

Harvest Blocks

Me and my mom got our craft on today.

I made a set of harvest blocks that I'm still deciding on if I like the outcome or not. Once again they didn't go according to plan but the finished product has its pros and cons.

I mixed my own paint because I needed a darker brown than what I had. I painted the blocks a base brown and then rubbed a white candle on the edges. Why? We'll get to that. Then I painted another coat of burnt orange. Once that coat was dry I rubbed the edges and the orange paint rubbed off where the was on the block.

Nice distressed look, eh?                                                         


Football Widow

I hate football. My mom hates football more than I do.

What's a girl to do? Well, craft of course! Mom is coming over in a wee bit and we're going to craft our fool heads off. I'm working on another set of blocks and I'm not yet sure what she's going to do.

I'm also going to try a new technique. We'll see if it works out as planned, ends up as a happy accident, or totally fails.

Pics will follow later...

Sunday, September 18, 2011

Halloween votives

This weekend has been rainy and cool. After I got home yesterday from my trip to visit my friend (see previous post) I came home and my little buddy was napping. I took the opportunity to try a new project since he NEVER naps for me :)

I'm sure I found the idea in one of my scrapbook magazines.


I bought the glass votive candle holders at the dollar store. I used StazOn ink to stamp trick-or-treat on  the glass. StazOn is the only ink that will stick on other surfaces such as glass and plastic.

Once I stamped the image I covered it with clear embossing powder and hit it with the heat gun to melt it.

Note: glass gets hot when it is heated up...and embossing powder is hard to melt on glass.

I stamped the image on 2 sides. I tried to stamp a spiderweb and spider on the other sides but I think it was just too much...and I didn't expect the ink to take so long to dry so I put a giant fingerprint in the middle of the spider. Luckily the ink wiped off which is weird because that stuff usually doesn't come off of anything, including clothes. Don't ask about the ink but let's just say a friend got it on her pants.

They still needed a little "something" so I put some ribbon through the xyron and stuck it on top.

Like what you see? I listed them in my etsy store here. I made 2 but if you'd like them with a different phrase just let me know. I take custom orders.

Project: Disney is finished!

I met up with my friend halfway between our houses yesterday to deliver her darling daughter's birthday blocks. We live in different states and the halfway point isn't too far for either of us. We had a wonderful lunch and spent a few hours just walking through the mall and visiting.

Here is a peek at the final product with a few "action" shots:

In my previous post I had put a base coat of white and pink on all of the blocks. The next step was to trace the letters on the blocks. I downloaded a Disney font and printed out the letters. In order to keep the spacing right I just cut the letters out of the paper and traced them on that way.

 Lots of cutting...
tracing and painting

I traced the letters and went over them with a paint pen. Then I filled in the spaces with acrylic paint and a brush. It would have been easier to just use the paint pen but the fumes were giving me a major headache.


The next step was to trace circles on the birthday block. I used the caps of both of my white and black paint pens. 


And...viola! I'm so happy my friend liked them :)

We also decided she can reuse the base blocks over and over and just repaint the top block every year. 

Despite a few "issues" I think they turned out really well.

Monday, September 12, 2011

Close Call

Have you ever thought a project needed just a little more something? Well, I was done with the disney blocks and thought I'd spray them with a clear coat just to give them a little more protection. Sometimes the podge can get a little tacky and I didn't want the paint to come off.

I set everything up for spraying outside. I sprayed and then went to play with little buddy on the swings to give the blocks time to dry. Well, I hadn't expected the wind to pick up just a smidge and the newspaper totally stuck to the front of the blocks. Let me tell ya...I wanted to cry. CRY! They were so perfect and now I had bits of paper stuck to the fronts.

One block came away unscathed. I tried some cosmetic work on the others but they looked bad. Tonight I tried a little rescue. I lightly sanded down the ridges and splotchy touch-up paint that looked bad. Add another few coats of paint and they look good as new!

Moral of this story: go buy the little triangle things they sell that can are specifically made for painting stuff. I'm going to pick some up tomorrow. Class tomorrow night so I won't be able to finish until Wednesday.

And....I'm meeting my friend halfway between our two respective towns (we live in different states) sans child on Saturday for lunch, trading of stuff (I have blocks; she has baby stuff she borrowed), and maybe a little shopping. I can't wait to see little Miss A!

Finally pictures!

Let's try this again...


These were super easy to make. The letters are plain paper mache letters I bought at HobLob. I just painted them. cut paper to size, and mod podged them on. Ink the edges and add a sealer coat of the podge and voila! The black and purple paper is core-dinations paper. I crumpled them up, smoothed them out and sanded the ridges and edges to make them look distressed.

Sunday, September 11, 2011

New items in the shop

I guess I should have said item and not items.

Anyway, here it is. They are paper mache letters that spell BOO.

You can get them here.

I'll try to post the pictures later. For some reason I can't get them to add at this time.

Wednesday, September 7, 2011

Project: Disney

A friend of mine wanted me to make her a specific Disney birthday decoration for her daughter's first birthday.

Here is what I've done so far...

WARNING: If your name is Amber and you don't want to see what progress I have made just close the page now!

Seriously, don't scroll down if you don't want to see.

Ok, this is your third warning....

I bought a large piece of 4x4 wood from my local home store.

The husband was kind enough to cut the wood into pieces for me and sand down the edges. I think he secretly likes it.


Several coats of paint...


Apprentice or child labor?


and more coats of paint


Disclaimer: I am no Picasso. Amber sent me this graphic that she used for the invitations. I just traced around it and started painting.

The next steps are to trace around the letters and start painting "Happy Birthday" on the other blocks. I think I'm going to become very good friends with my exacto knife.

I'll update with more pictures as I get more blocks finished. Until next time!

Tuesday, September 6, 2011

I was featured!

 
What is a treasury? Basically it is a small collection of items that etsy users make. They can be based on a theme, color, anything you want.
 
Here is the Halloween treasury I put together.
 
This is the Spooky treasury that features my spooky wood blocks.
 
If you can't tell...this is a little exciting for me! :)

Monday, September 5, 2011

Slip-n-Slide = sore ribs

A few weekends ago we went to the campground to spend the day. The weather was gorgeous so we decided to get the slip-n-slide out. Well, it looked like so much fun me and E decided we should try it too. Fun it was but the next day left me sore, sore, sore! My ribs hurt for about a week but it was well worth it.

And no, there are no pictures of the adults so don't even ask!


Last weekend we went to the circus. We both thought it would be equal parts of horribly bad and cheesy and it didn't disappoint. It was totally lame and SUPER cheesy but little buddy had lots of fun. He saw a huge Clydesdale and a mini horse, lions and tigers so he was happy. Oh, and he went on a pony ride which made his day.


Long time no blog

I'll admit...I haven't even cracked open my laptop since Thursday night. Friday night was spent grocery shopping. Saturday we took a trip to Menard's so I could buy some wood for a project I'm working on for a friend (details to come later). Yesterday was spent cleaning my entire house. It is so clean and smelling good!

Now I sit in front of my old friend, eating cereal and staring at the huge stack of wood CB cut for me. My living room smells like wood LOL!

I'll start by posting pictures of some blocks I made for my BFF, otherwise known as Tiki Laru.


They are my basic blocks except I chose not to ink the edges. I think it gives them a more "weathered" beachy look.

And I also made another set of spooky blocks for my friend B...and am working on another order of the same blocks for my mom. Boy, those sure are popular! If you want a set you can get them on my etsy page.

That's all for now. I have more pics from the campground weekend and the circus but I'll leave that for another post.